Wab794 Restoration Progress - 1998 and 1997
|
|
Wab794 Restoration Progress - 1998 and 1997 |
|
[Current] [2003-04] [2002] [2001] [2000] [1999] 1998-97
|
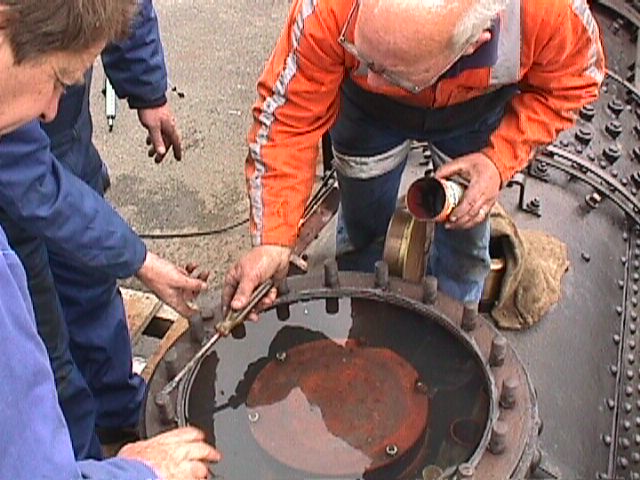
12th Dec 1998 With the sealant applied the steam dome lid was then bolted down extremely tightly so as to get a good seal for the compression tests. |
|
12th Dec 1998 The boiler was filled with water once all the fittings were refitted to boiler. High temperature sealant was then applied to help seal the steam dome lid. |

|
15th Aug 1998 Preparing for a hydraulic test. This required most of the fittings to be reinstalled onto the boiler so that the water didn't leak out. This picture shows the sight glass and taps being installed. |
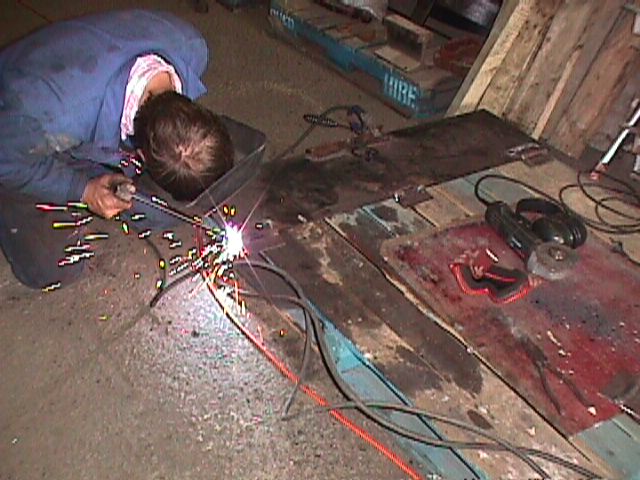
| The original hinges were only standard door hinges, and had failed due to the very heavy weight of the doors. To prevent this problem, new hinges have been made and welded in place. |
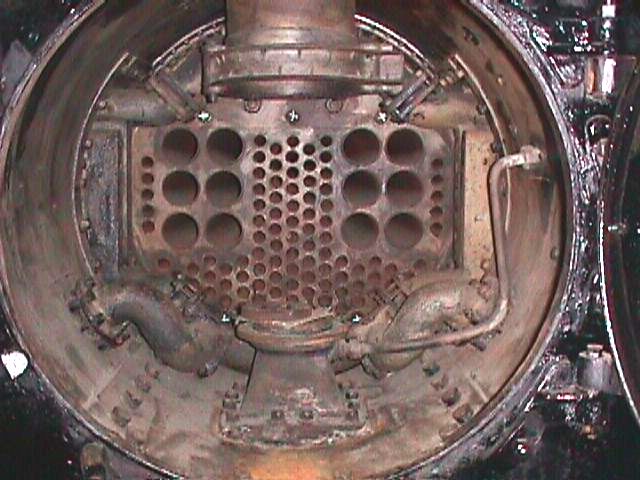
| The smoke box has been sandblasted and rust preventing primer painted. This has allowed the smoke box and flues to be inspected. So far everything has been favourable with very little concerns found. This picture shows the flues and superheater bulk heads within the smoke box. |
| Owen Rush sand blasting the cow catcher prior to painting and refitting. |
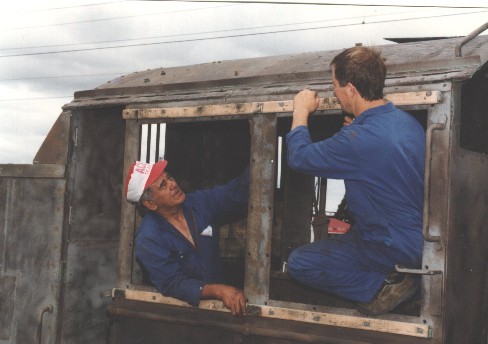
| The boys removing the window frames, so they can be varnished. |
| The interior of the cab has been sandblasted and painted green. The coal bunker has had the rust removed and new steel welded in place. Most of the brass work has been sanded smooth and polished. Most of the valves have been overhauled. |
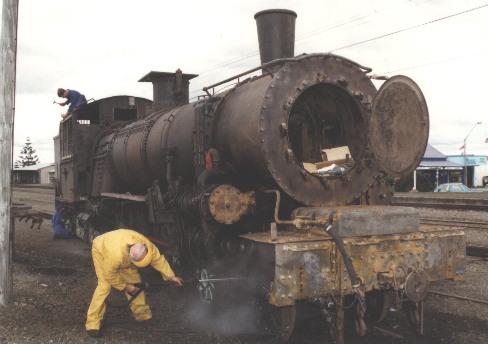
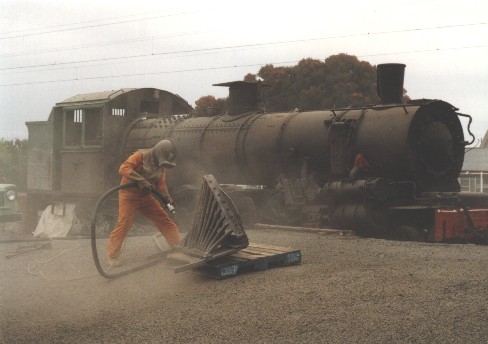
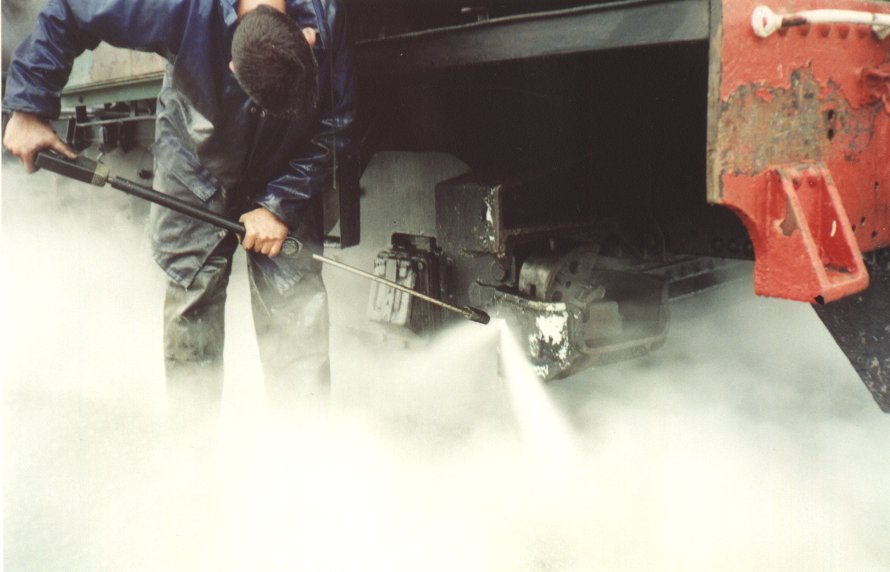
| The whole locomotive was steam cleaned, to remove the years of built up muck and loose paint. |
To Begin With
The first job that was done once the Wab arrived in Feilding on the 2nd of March 1997 was to remove the big water tanks off both sides of the locomotive. Then a local contractor was given the job of restoring them to operational condition. The outside walls of both tanks have been found to be very rusted and have required new steel to be welded in place. Most of the water baffles were also very rusted and required re-manufacturing to original specifications. One water tank has been completed and returned to the wool bank, while the other which requires a lot more work is still with the contractor.
Once the water tanks had been removed, we were then able to start with the locomotive's boiler. Firstly the boiler had all the sheathing and insulation removed, then was sandblasted and painted. A visual inspection of steelwork, welds, and connections was made.
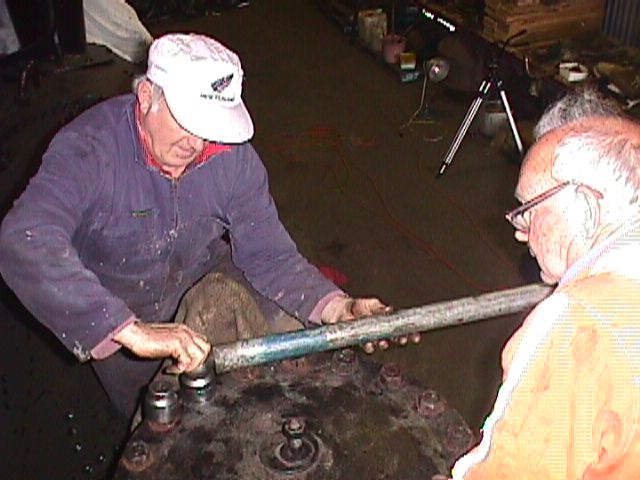
We then checked all the stay bolts that hold the inside of the firebox to the outside of the fire box. The stay bolts prevents any movement in the two steel walls of the firebox. This movement comes about due to the high levels of heat in the firebox. The old way to check if any of the bolts were broken was to drill a hole down the middle of each bolt, and if it was broken the water would leak out the hole when the hydraulic test is done.
Things have changed now, with the help from technology we used an ultrasonic steel tester. The tops of the bolts get cleaned up with an angle grinder so they are clean and flat. A small amount of grease is applied to the top of each bolt and the ultrasonic testing head is placed against the top of the bolt. The sound waves travel down the bolt and reflect off the end of the bolt. The sound waves are heard by the ultrasonic microphone in the head and displayed on a CRT screen. The pulses of sound are displayed showing the time they take to reflect from the end of the bolt or the break. The distance on the CRT screen can be measured and the exact distance of the bolt or break can be worked out.
Using this technique we tested all the stay bolts in the Wab firebox in 6 hours, which would be a fraction of the time to drill them, and we wouldn't have known the result until hydraulic testing was done. The ultrasonic testing has found one broken bolt out of approximately 800 good bolts. The replacement bolt has already been installed.
The majority of photos on this page were taken by Stan Jenkins.